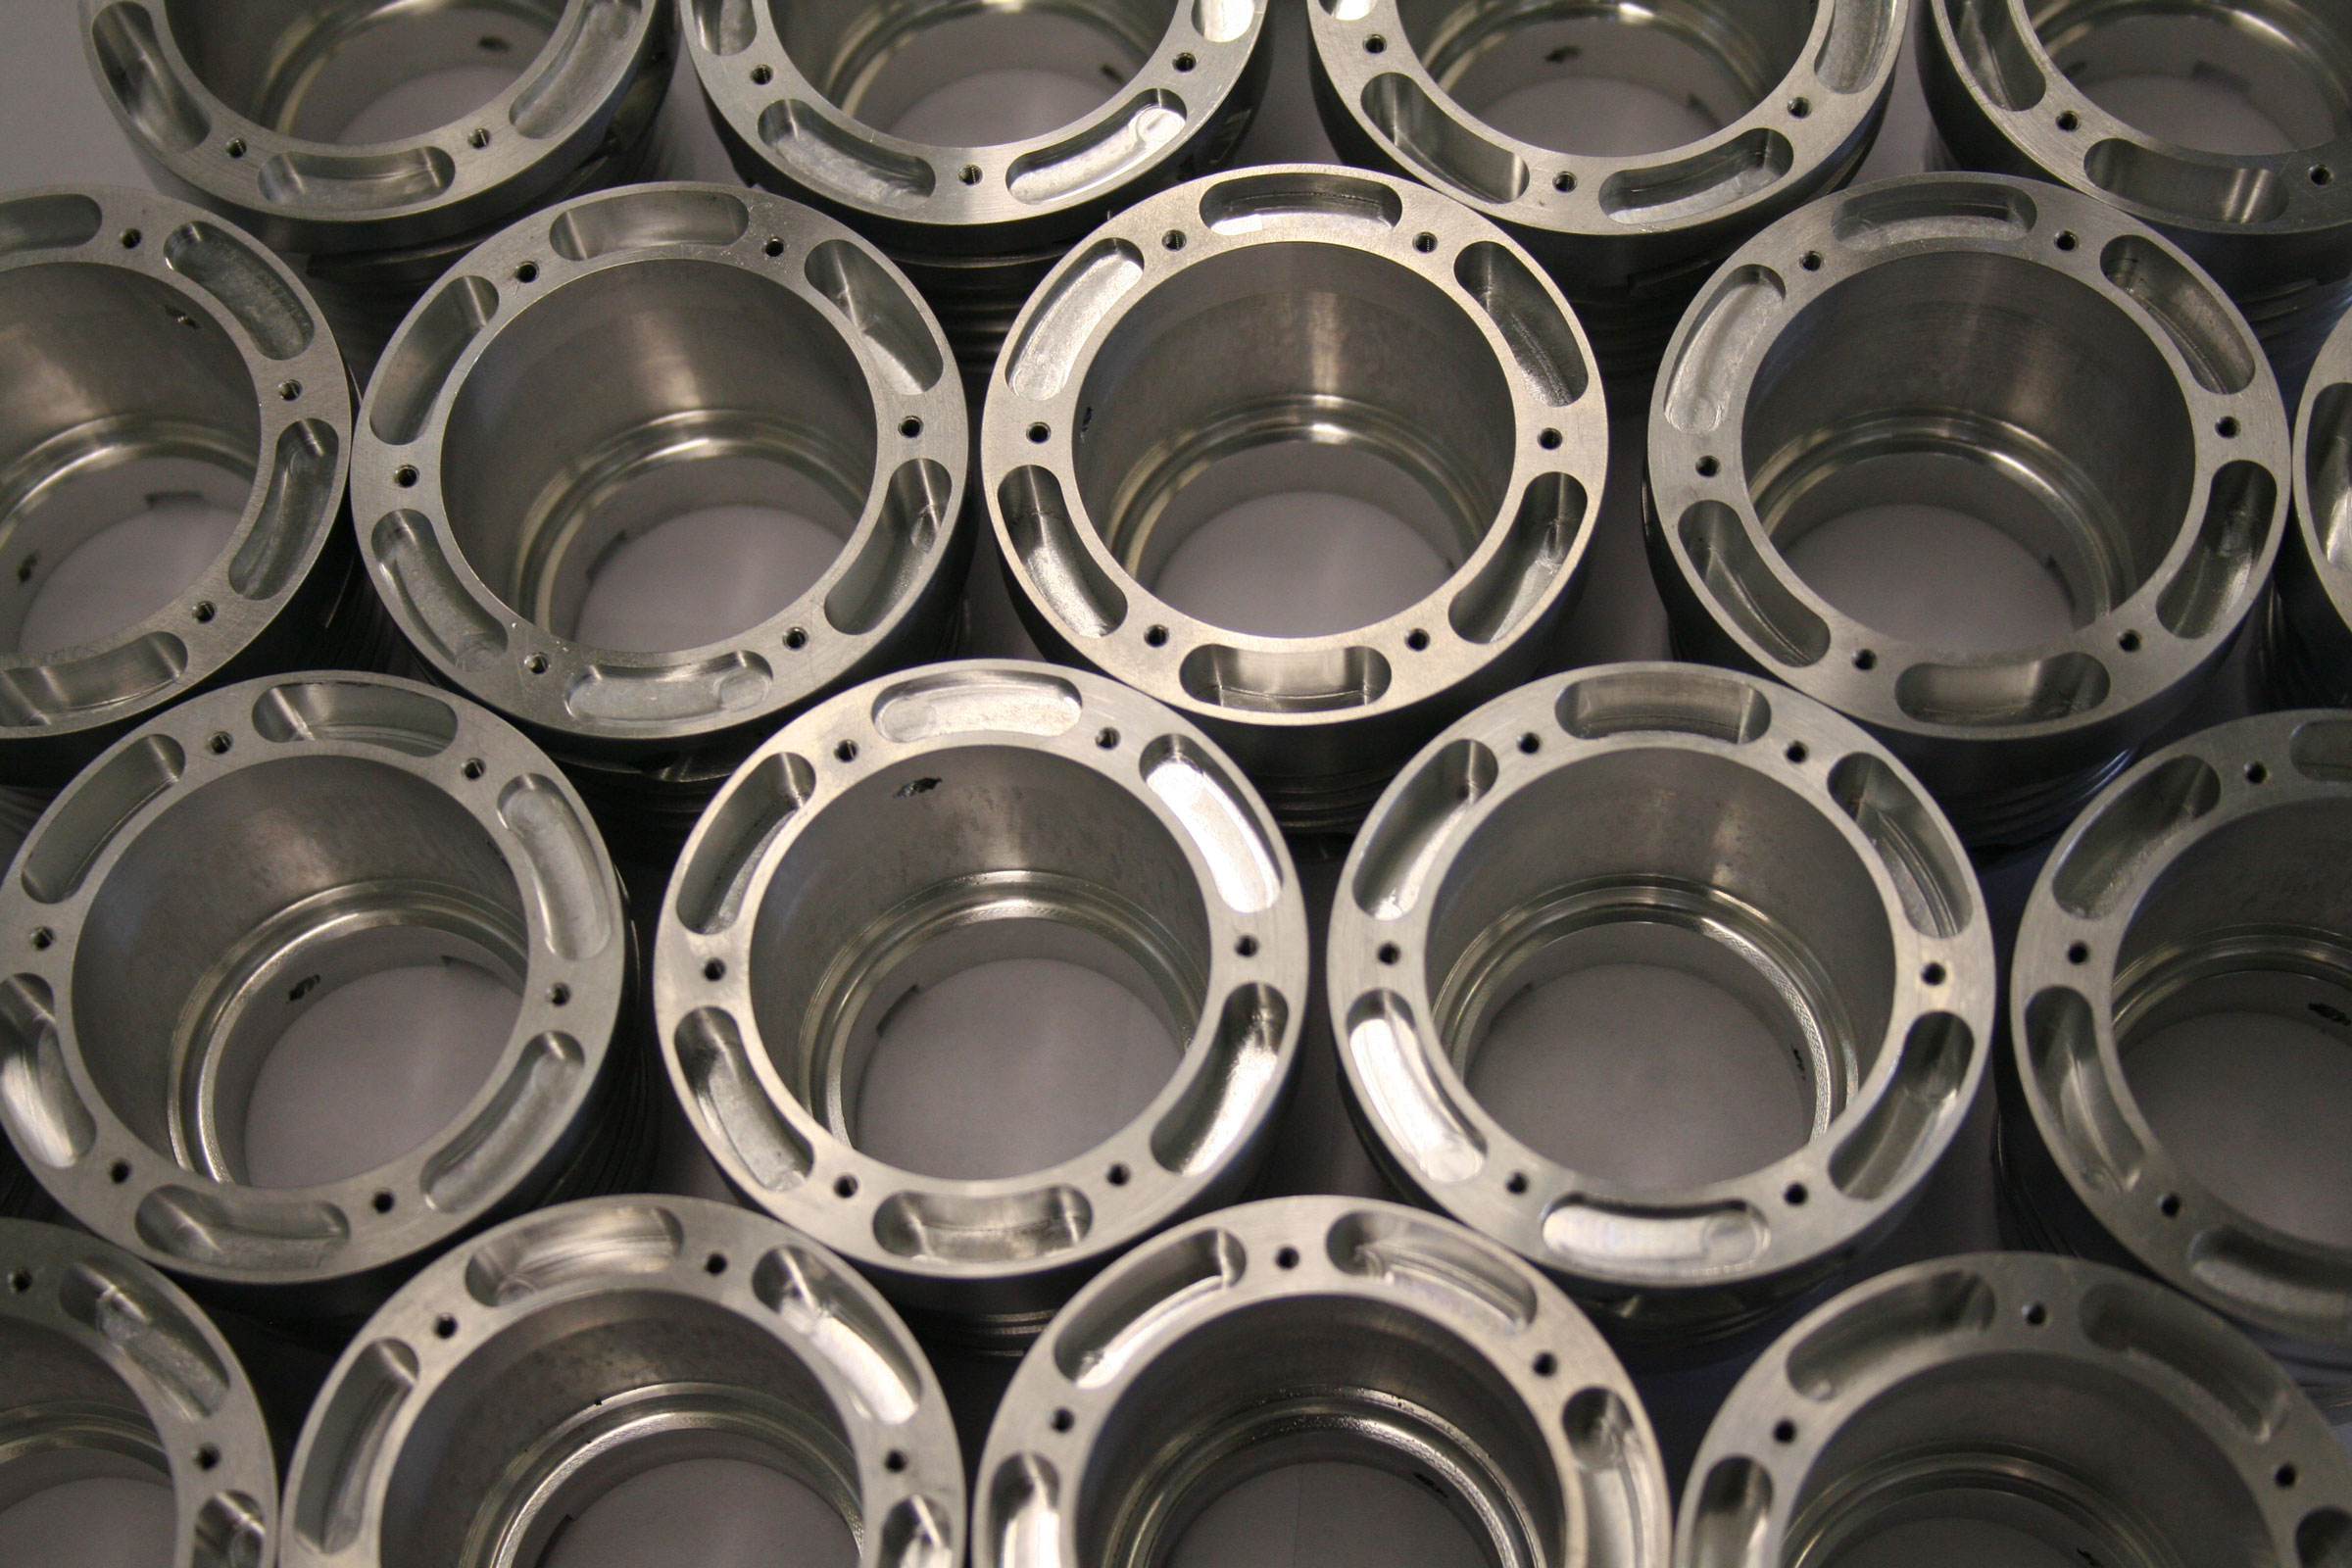
Close Tolerance Machining

Our business is built on meeting or exceeding extremely tight tolerance thresholds for machined parts, regardless of size, complexity, or production volume. To us, accuracy is always critical, whether we’re milling components for rocket engines, medical implants, or high-speed surface mounted capacitor testing equipment.
Exactly as engineered.
When we say accuracy, we mean up to 0.000080 of an inch with 0.000040 repeatability. We have the capital equipment and expertise to achieve this level of close tolerance machining while meeting budget and delivery targets. It is rare for a client’s specifications to approach the high tolerance levels our team can produce with consistency. In fact, our standard target is to deliver parts at half the specified tolerance.
Close collaboration controls variation.
From design engineers to machine operators to QA/QC experts, the Fluke Metal team works together to ensure specifications are validated, communicated, and achieved. Our structure and systems enable seamless cross-functional cooperation in identifying and correcting the slightest deviation.
Continuous quality assurance is built into our process.
It allows us to identify and correct anomalies early so that miniscule variations don’t become big issues. Our range of manual and computerized inspection equipment is key, but it’s our people who make the difference. There is no substitute for attention to detail or proactive communication among team members and with our clients.
Fluke Metal actively invests in state-of-the-art CNC milling, Swiss turning, and other machining equipment. However, the latest and greatest technology is only as good as the engineering and programming that goes into it, as well as the quality assurance and control that consistently ensure a top quality finished product.
Request a quote or learn more:
Contact a Representative


